
There are a few differences between model/actor shoots and ours.
-Professional lighting equipment. The equipment helps keep weird shadows from models' faces or under their chins, so they have a lot more flexibility in terms of poses.
-Photoshop. Unsightly neck wrinkles can be swooped away in a manner of moments. Since most of us don't have a lot of experience in Photoshop, we have to work with what we've got and make sure our photos look good from the get-go.
My advice for you regarding this sometimes frustrating body part:
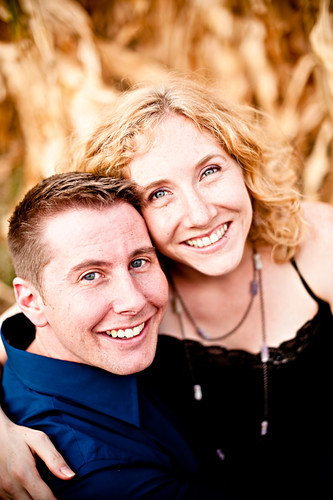
Keep your chin level to the camera or ground.
In this example, I demonstrate that we keep our chins level to the camera, despite that our photog is shooting from above us.
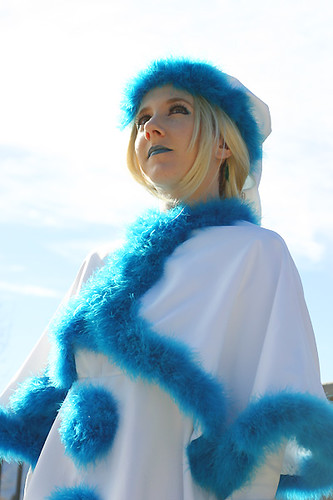
If you don’t look at the camera, still keep your chin at a reasonable angle. When the head is tilted too far down, shadows can make your neck's graceful arch all but disappear!
Certainly there are times to break these rules. Is your lighting good? Did your photog bring external flashes that she can place around you so your photographs seem brighter? Is it a fantastically sunny day?
As with everything in this posing tutorial, you can certainly take it or leave it. I admit, however, when posing this is probably the one item I keep in mind the most!
No comments:
Post a Comment